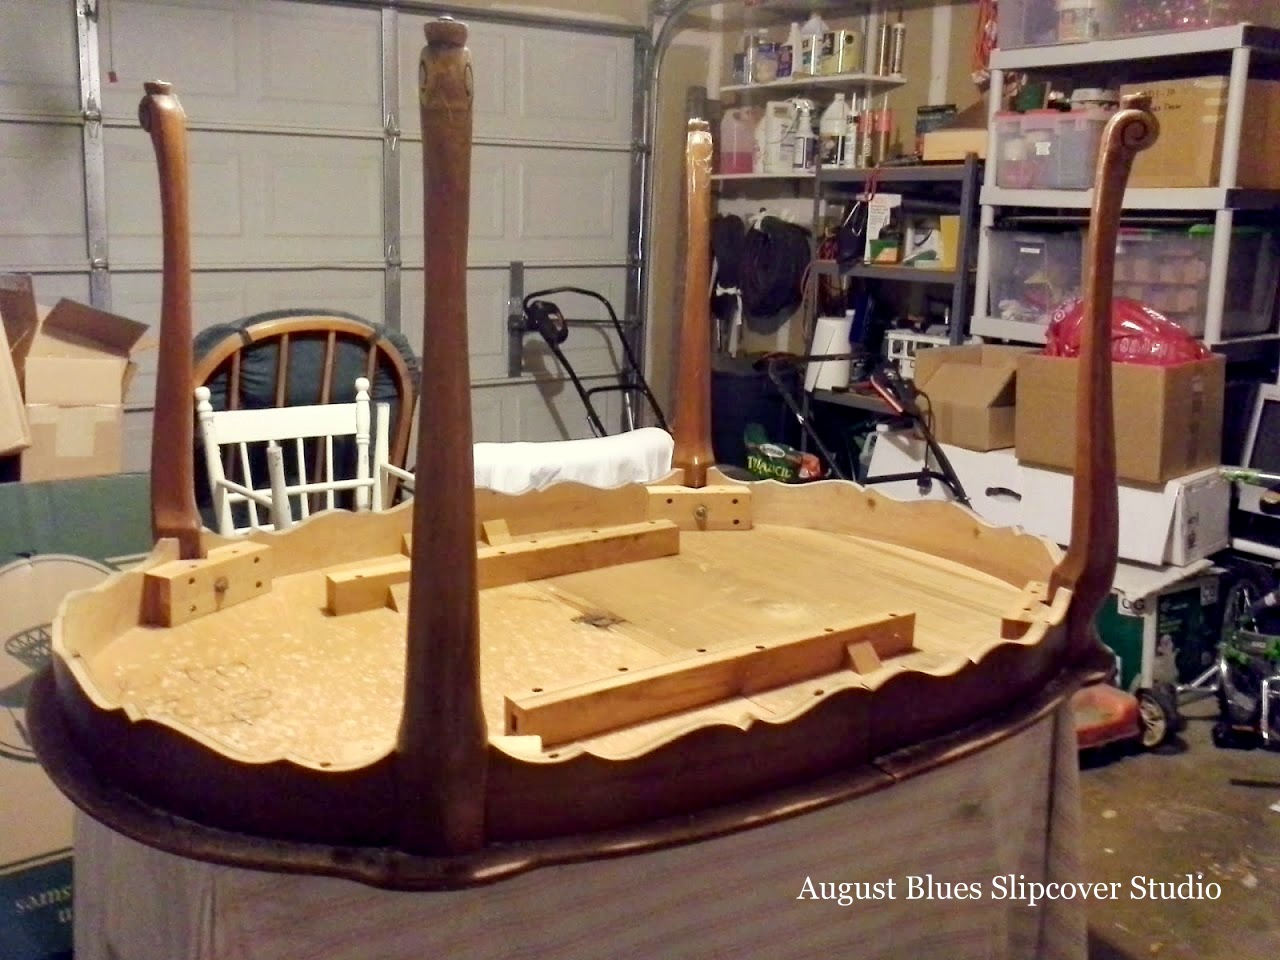
So, the story starts with my "need" to find a different kitchen table. Our IKEA table was getting chipped and worn and was looking more shabby than chic. I was trolling Craigslist on a regular basis and happily found a "new" table - a vintage-ish curvy French style for... $15!!! And the size was just a little better fit for our space.
My plan was to paint and distress it. I had been hearing a lot about milk paint, so I thought this would be a great opportunity to try it out. My first project turned out quite well, so I anticipated similar results. Well, if you have read anything about milk paint, you will know that it can be a little unpredictable. I opted not to use a bonding agent, since I wanted a chippy look.
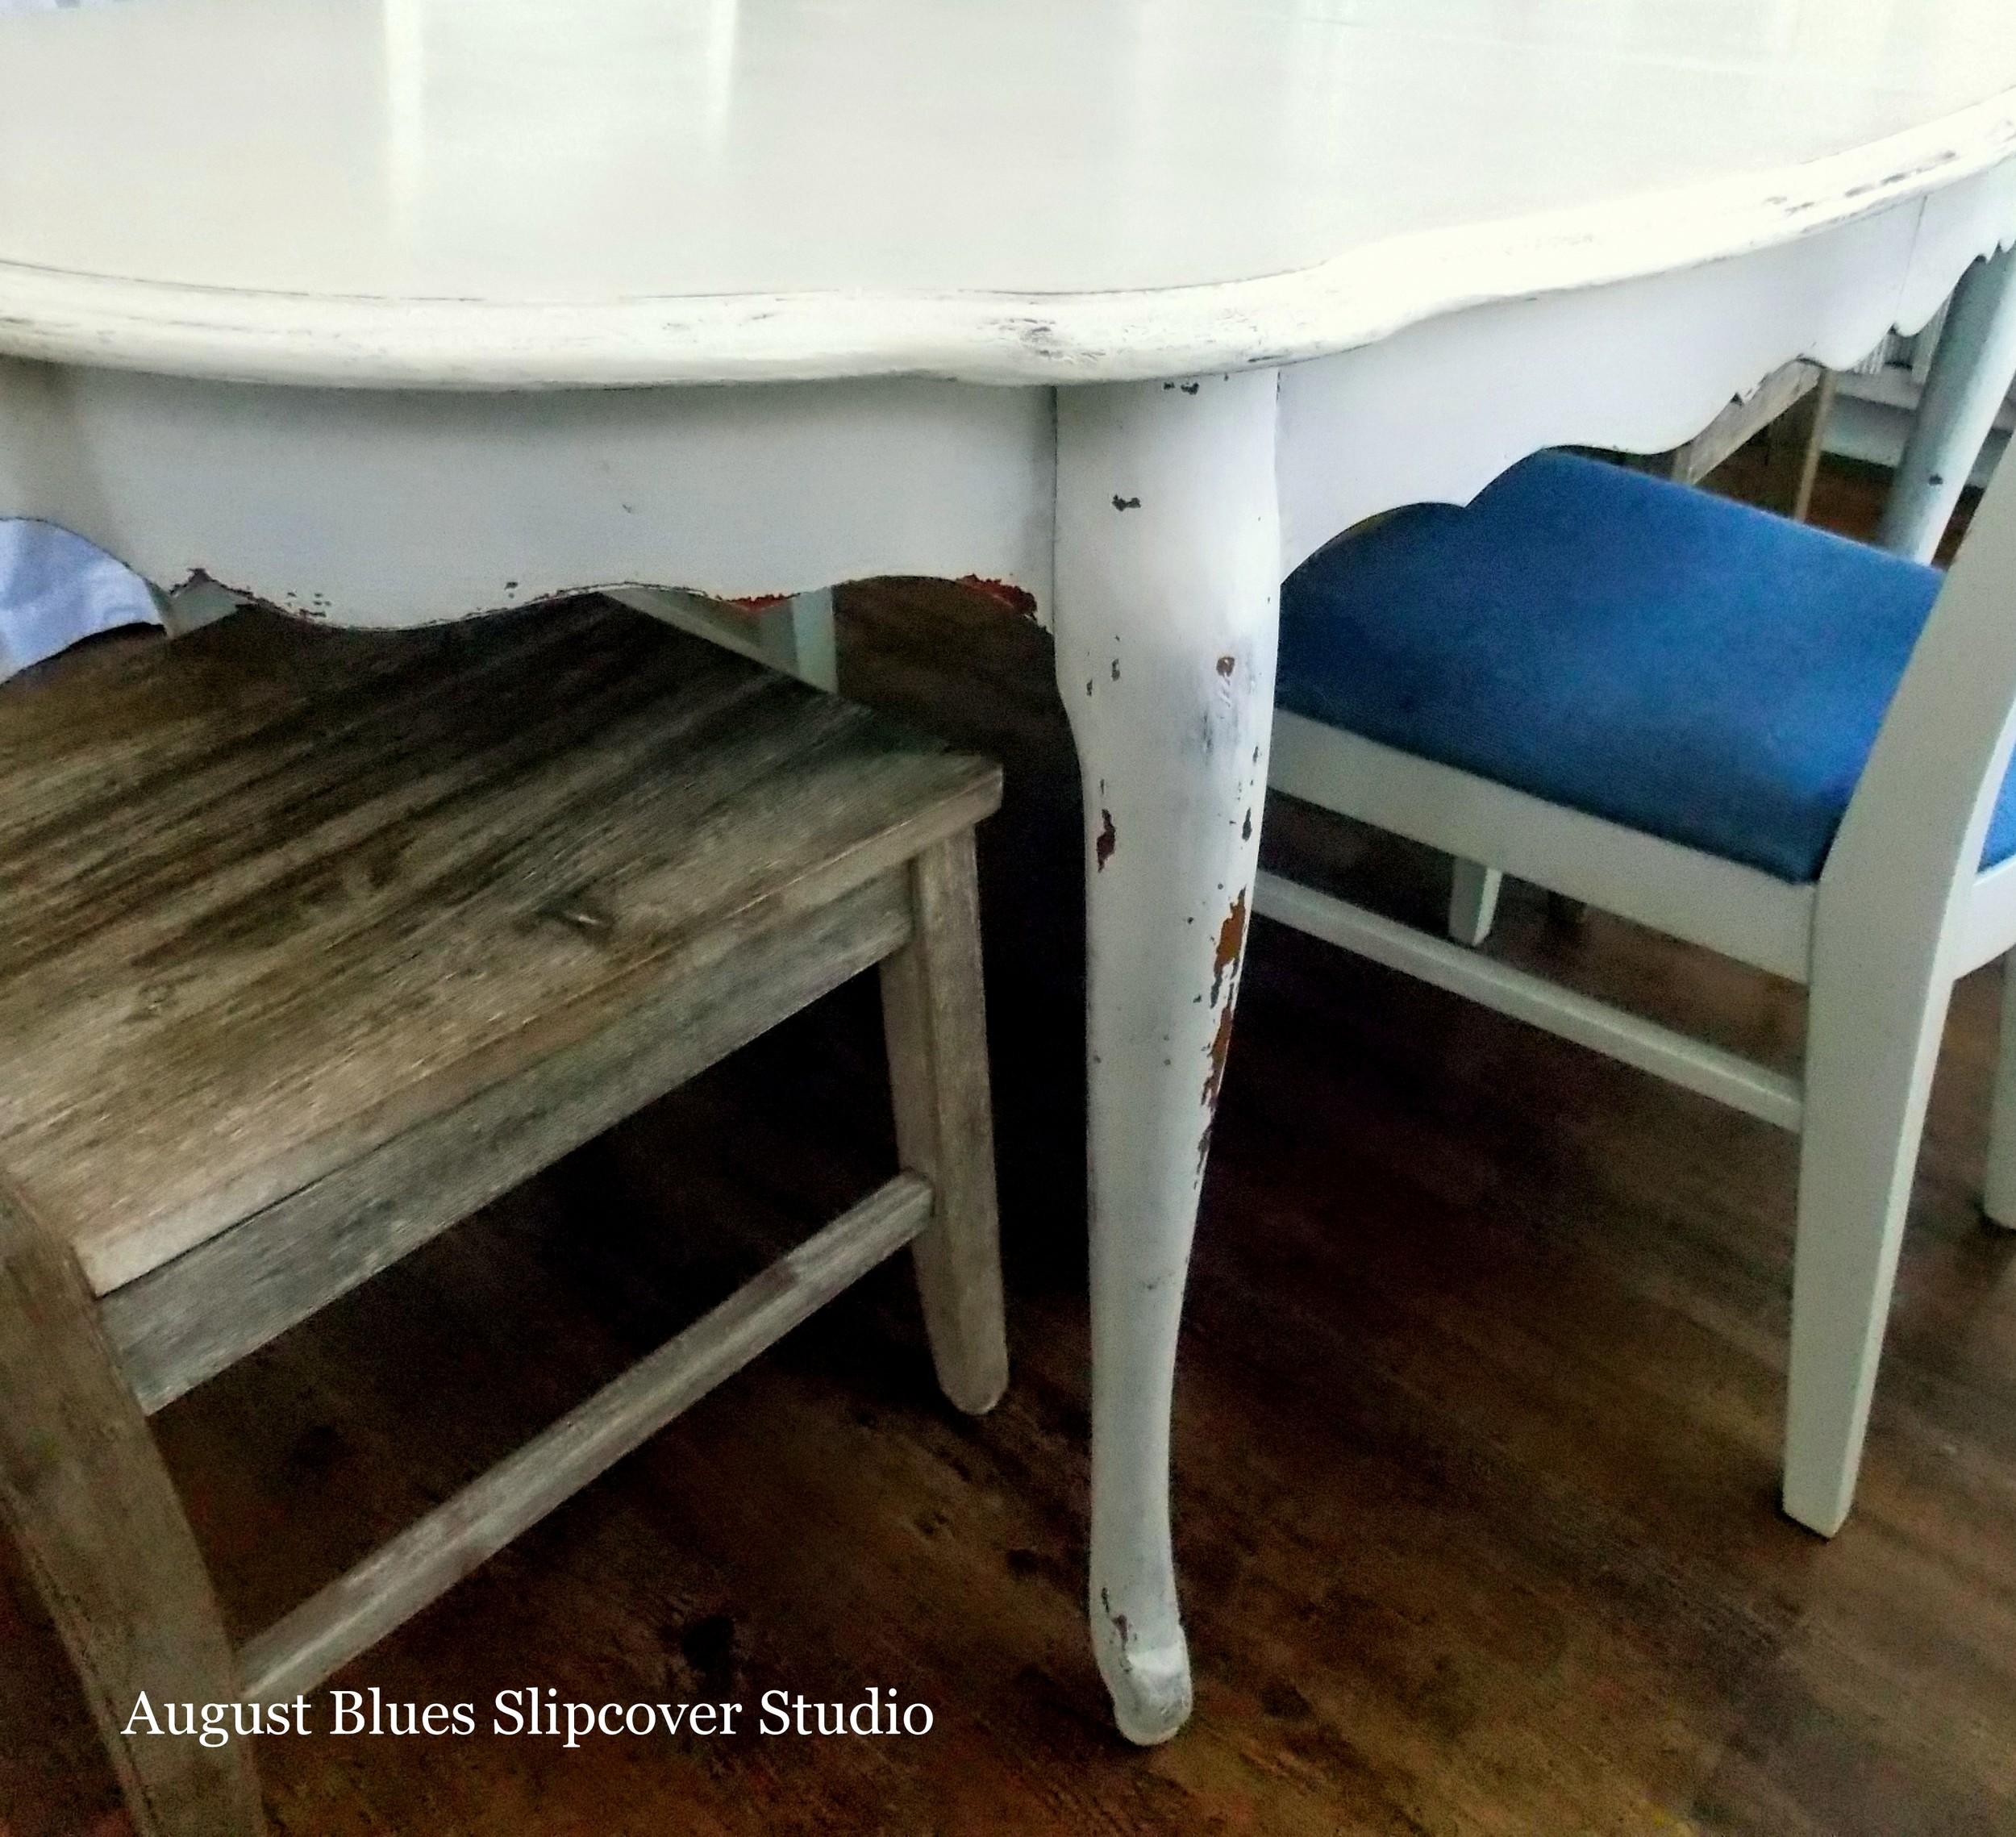
Well, the legs and skirt of the table turned out about like I was hoping - a little chippy, and easily distressed where I wanted it. I finished them with wax, and then flipped the table over to start on the top.
And that's where the project started to go south. I did two coats of the milk paint and it chipped like crazy! Like, half of the paint disappeared! And it didn't stop chipping, even after I thought I took off most of the chips and tried to finish it with the wax. It was just before Christmas and we were having house guests, so I decided just to go with it. We used a table cloth most of the time, but every time I took the cloth off, more paint chips fell on the floor. That got old real quick! In hindsight, I strongly suspect user error - I'm not sure that I mixed the paint correctly and the temperature in the garage where I worked was probably too cold.
So, in my abundance of paint wisdom, I decided to fix it with some coats of primer and latex paint (because I am impatient and I had those items on hand). Primer will stick to anything, right? It did make the table usable, but, while the primer stuck to the milk paint, the milk paint was not entirely stuck to the table. So the layers continued to peel off randomly as the latex paint stuck to plates, books, etc. It just looked BAD :/ (and I don't have a picture, but you can use your imagination!)
So, since the Nester says you can't ruin something you don't like and I was DETERMINED to make this table work, I picked up some stripper and went to work. A little (a LOT) of elbow grease later, and the table top was stripped down (mostly) to bare wood. Then I got some Vintage Farmhouse Paint (like I used here) and went to work...
The color was a great match to the milk paint legs. 3 coats and some strategic distressing later, it was ready for a final finish. I was going to use wax, like I did here and here (I have been very happy with the finish on those pieces). But, I needed to get some more, so I decided to do a little online research before I headed out. The consensus was that, for a piece like the table, that would get heavy use, wax would not be durable enough and that a poly finish of some kind would be better. So, I came home with a water-based polycrylic (remember, I am working in our kitchen and it is Texas-in-August hot, so I didn't want to have the windows open more than necessary). 3 light coats (with light sanding in between), and here is the final result...
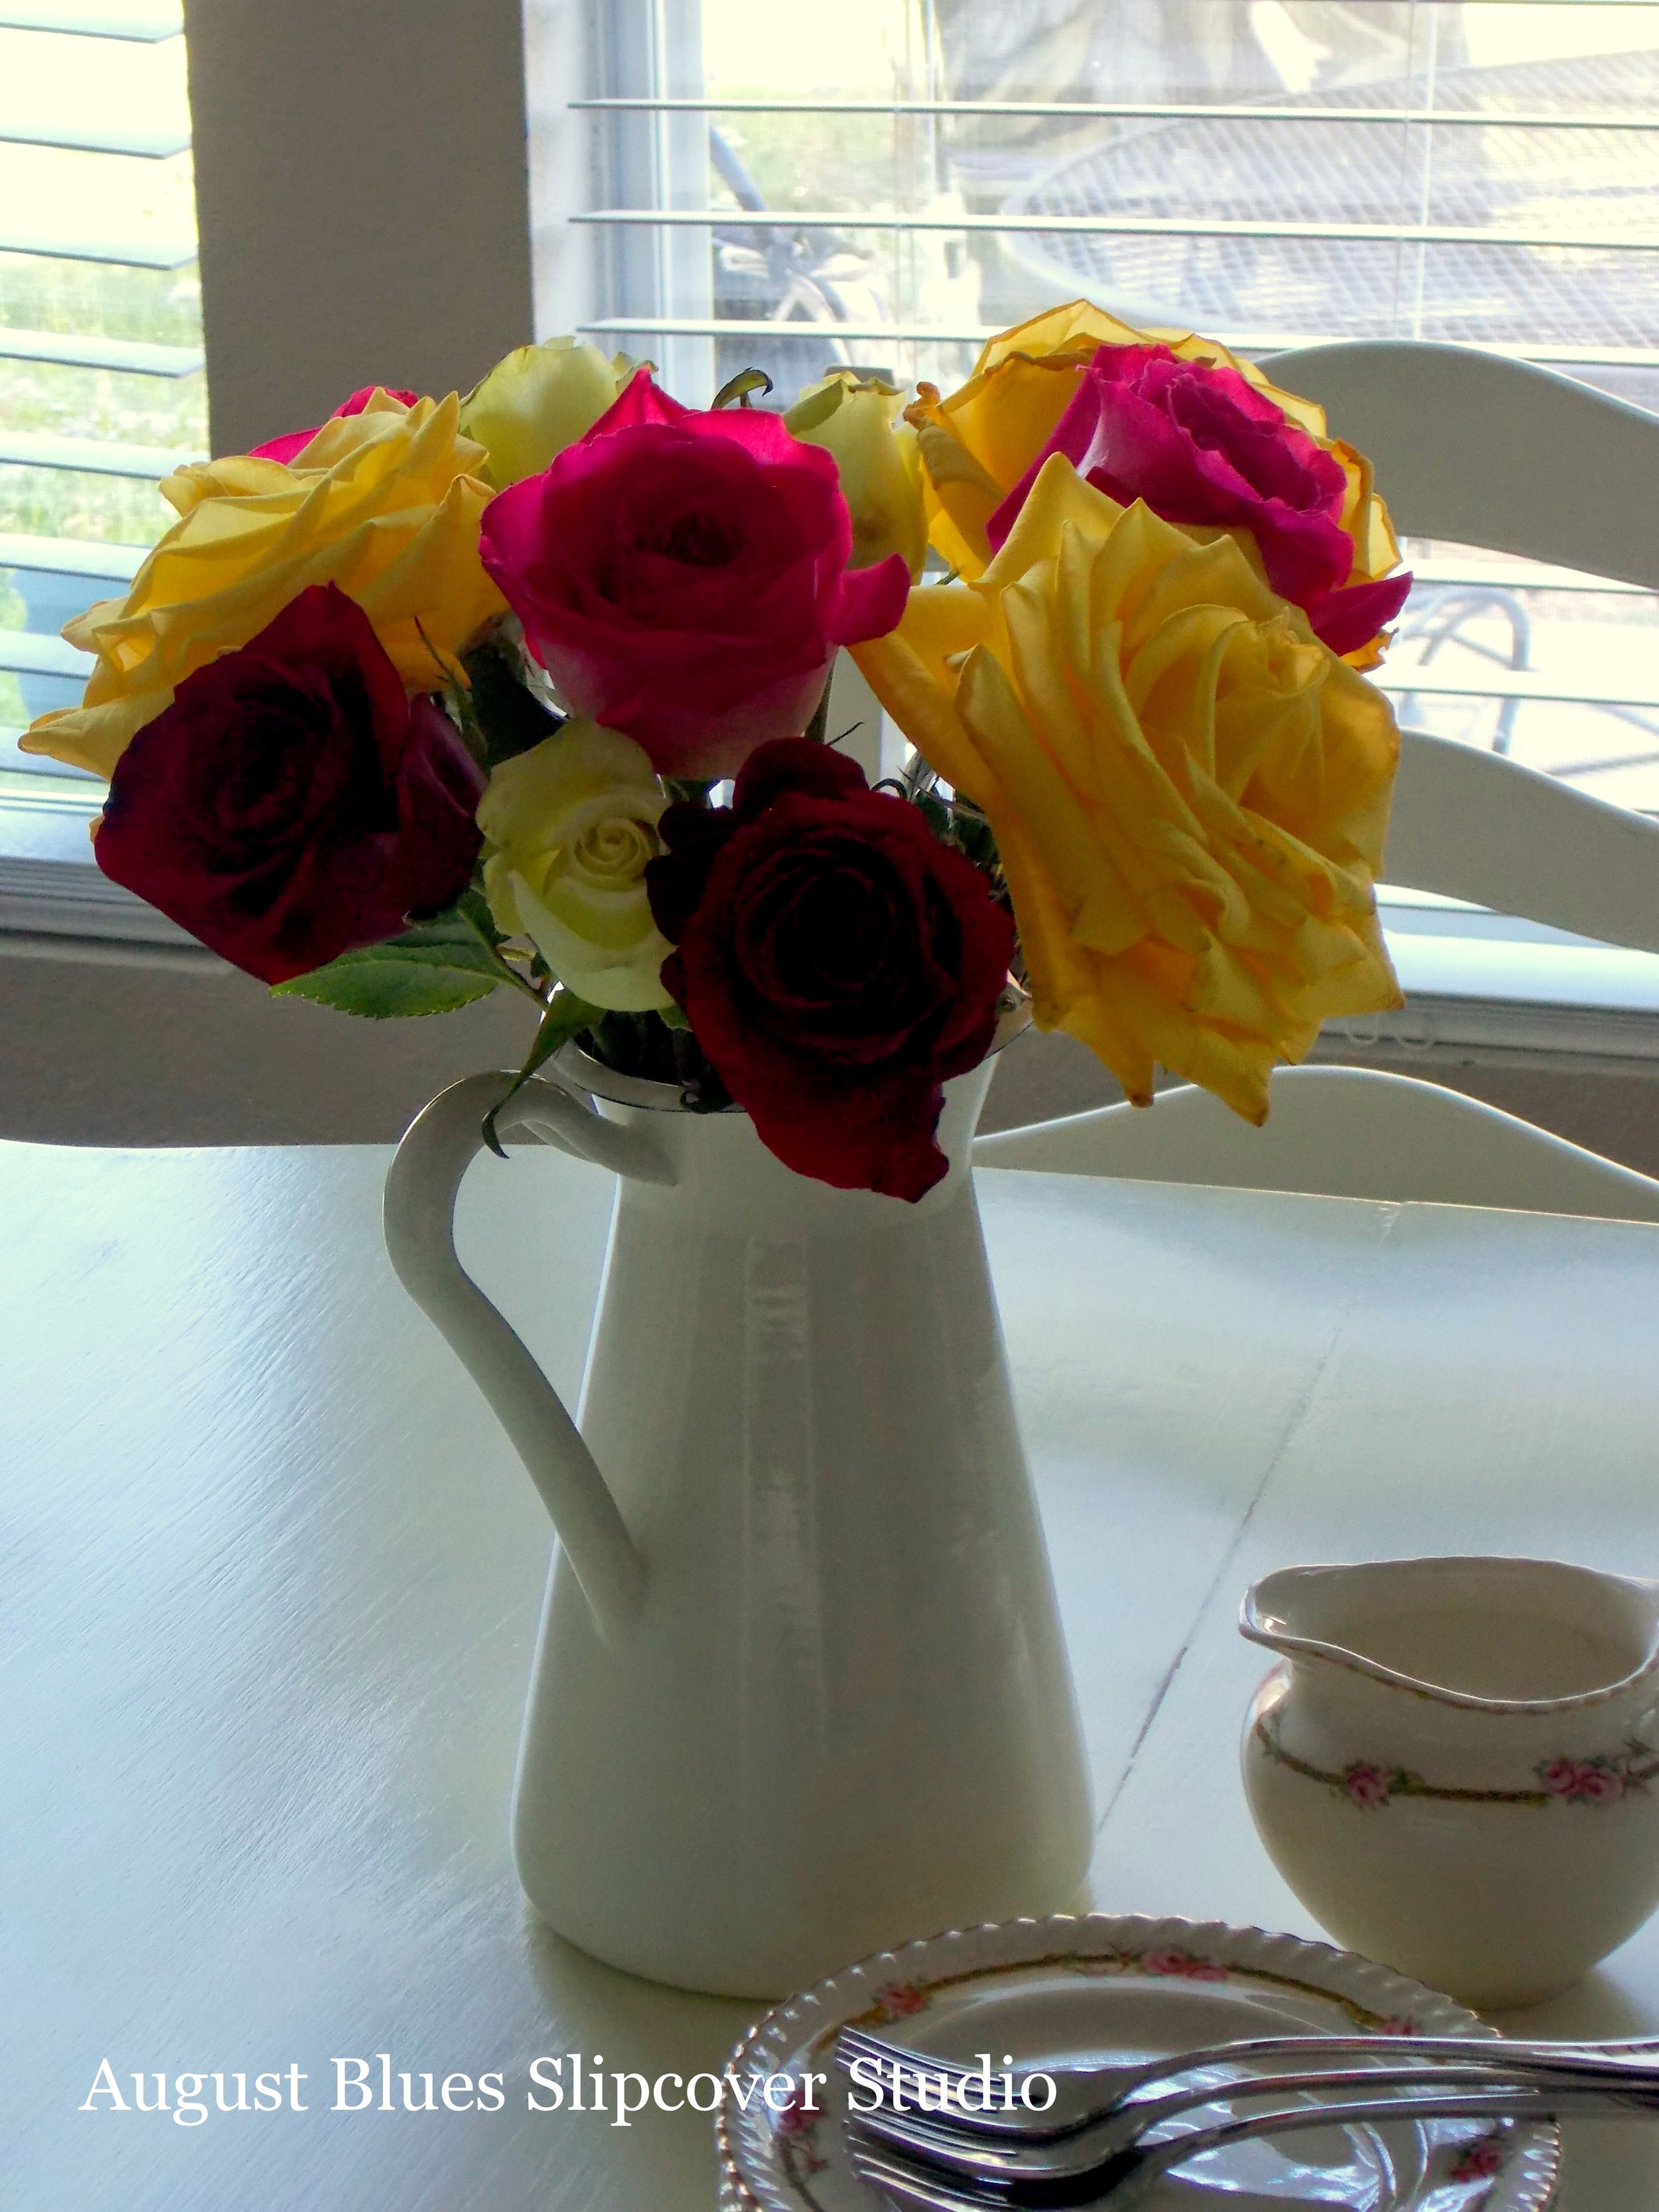
Yep, the finish yellowed some, but now we have a functional table that (knock on wood!) will not chip or peel or otherwise get in the way of enjoying our meals. After all, it doesn't have to be perfect to be beautiful :) (Flowers and pretties don't hurt, though ;) )
...And that, my friends, is why I will stick to slipcovers and leave the fancy paint finishes to the experts (well, at least until the painting urge strikes again)!
Have you ever tried a project that didn't turn out quite like you expected?
Sherri
