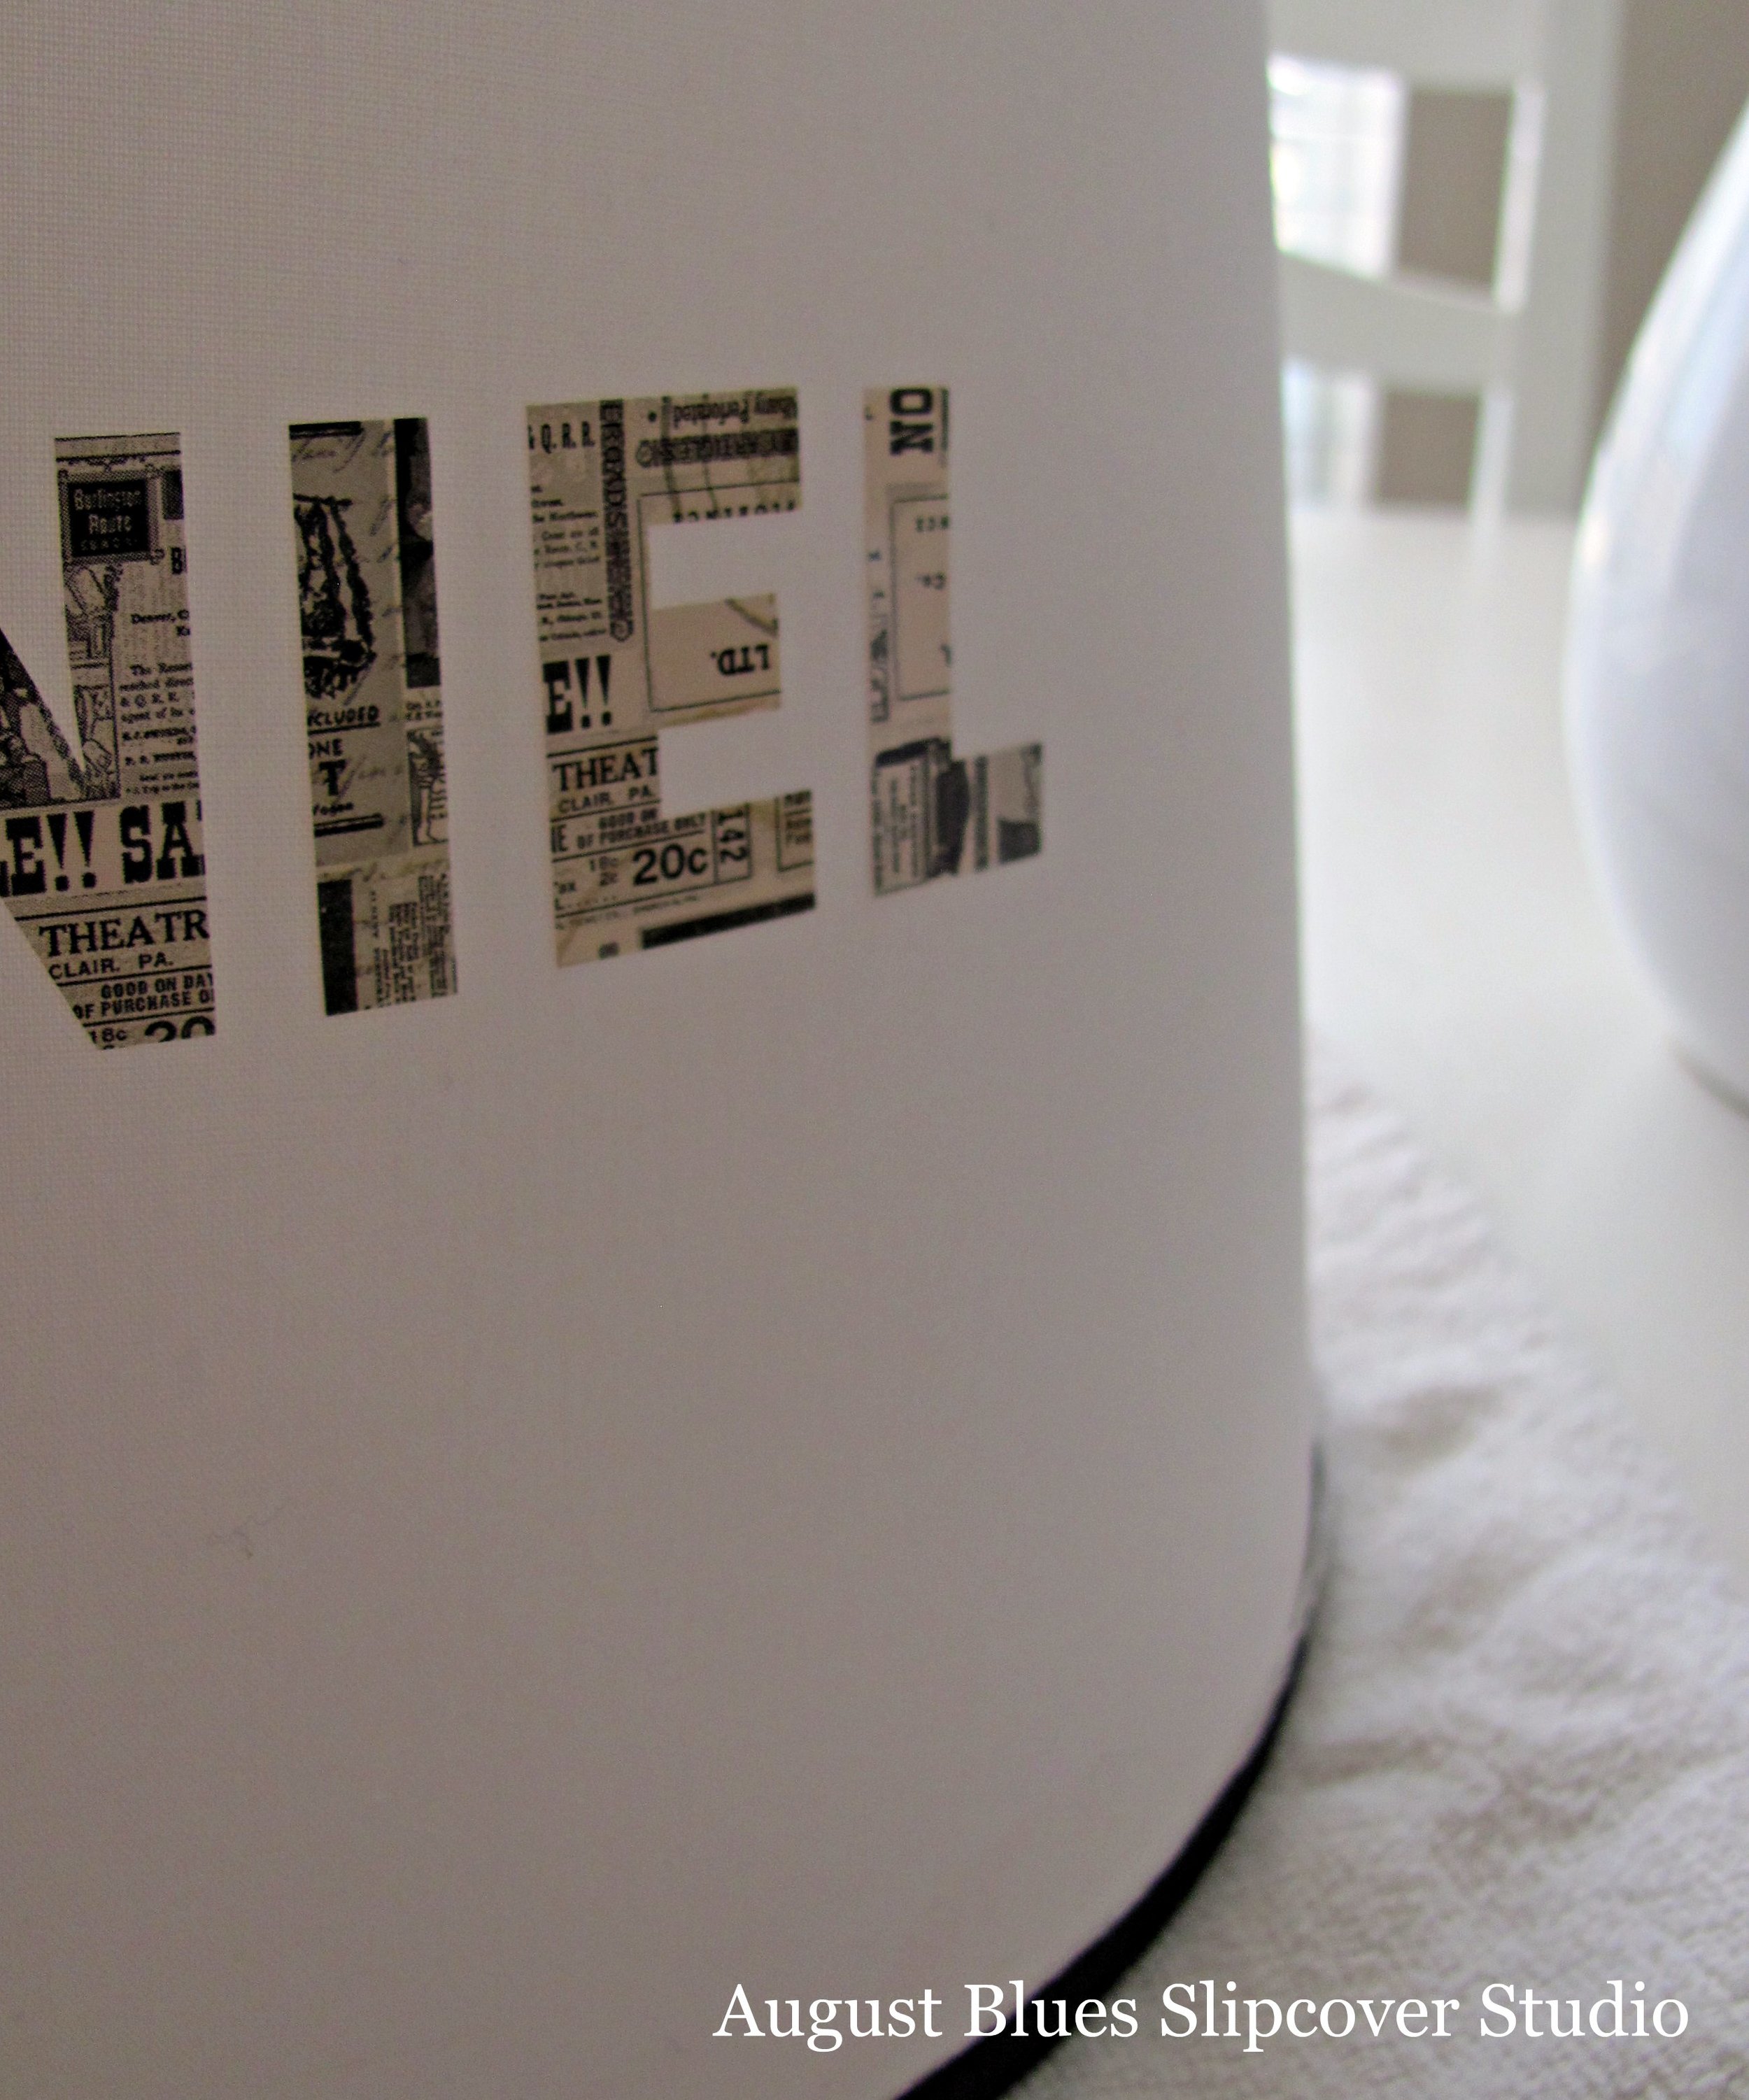
We have been slowly working on making the boys' rooms more reflective of their distinct personalities. For our oldest's room, I found inspiration in this lamp...
He has always loved all things to do with letters, numbers, and books. I try to keep his room calm and uncomplicated, but I thought something like this would bring a little of his personality into the room.
So, today I thought I would share a REALLY complicated project, so pay close attention ;)
Step 1: Gather your materials. My lamp was on clearance at Target forever ago. The shade was a Christmas shade from Lowes - I just removed the sparkly green and red ribbon trim (it was half the price of a plain shade!). I also used scrapbooking alphabet stickers, a wide Sharpie, Mod Podge, and a foam brush. Can you see where this is going?
Step 2: Add your trim color to the shade. I just used a black Sharpie because I was tired of looking for plain black Washi tape. The Sharpie works fine if you keep it on the trim - it tends to bleed a little on the fabric, so I wouldn't use it on the main shade fabric. And, obviously, use whatever color coordinates with your stickers.
Step 3: Put stickers on the shade. Do it however you want! I started with his name, and then filled the rest of the shade with random letters. IDHTBPTBB!
Aren't those stickers great?
Step 4: Brush on a thin layer of Mod Podge. I just wanted to make sure the stickers stayed stuck.
Step 5: Put the shade back on the lamp and you are done!
And here is how it looks in his room...
Just a little something that is just for him. And here is is brother's version...
He got tired of waiting for me to do his, so he did it himself! He had picked race car stickers, so he created a racing scene on his lamp. His stickers were more stiff than the alphabet ones, to it was a little harder to get them to lie flat on the curved shade. But a little extra Mod Podge helped. And now it's all his!
So, did I stress you out with all those tricky instructions? Happy crafting!
Sherri


